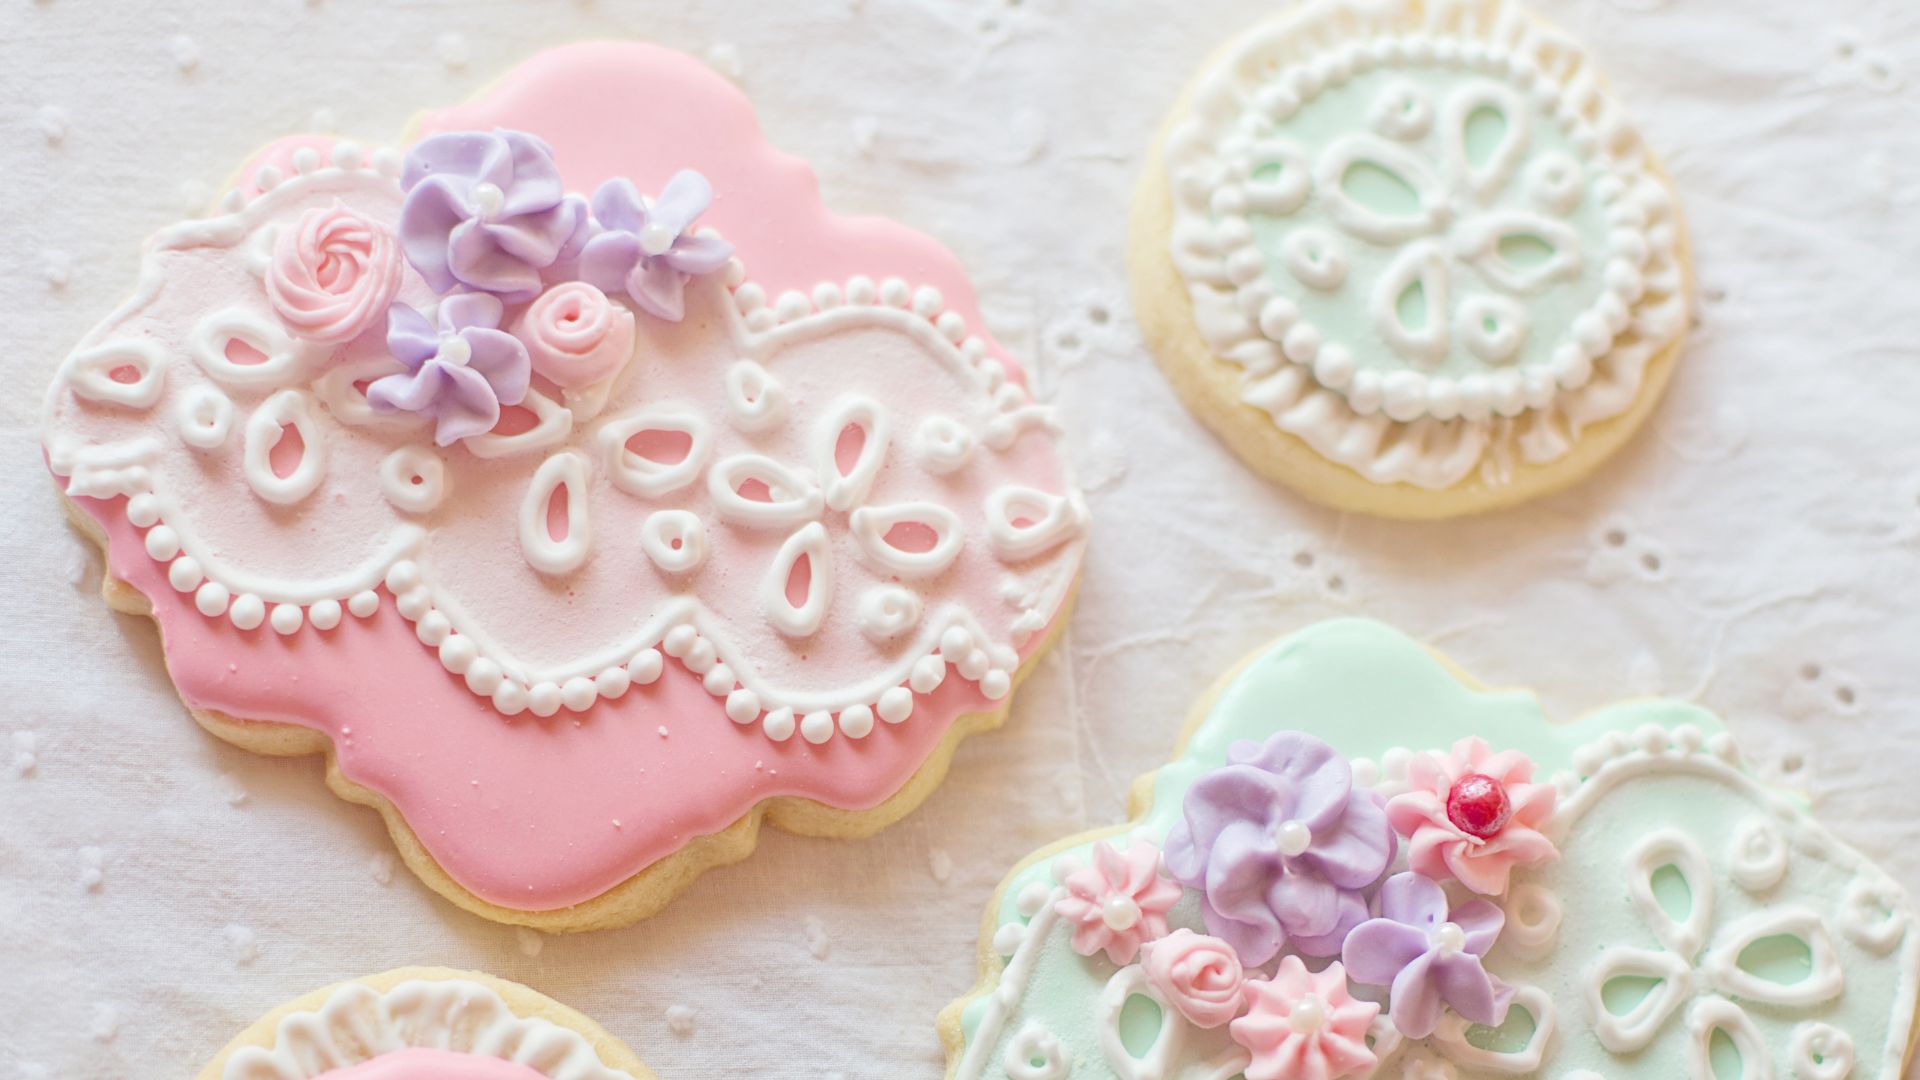
Sugar cookies are a classic treat that never goes out of style, and they’re particularly popular for decorating. Whether you’re celebrating a birthday, holiday, or just want to add a personal touch to an occasion, beautifully decorated sugar cookies make everything feel a little bit more special. Their simple flavour and smooth surface create the perfect canvas for your creative designs, from intricate patterns to colourful, whimsical decorations.
In this guide, we’ll explore how to make the perfect sugar cookies, how to use royal icing and fondant for detailed designs, and how to store and present your cookies in a way that’ll wow your friends and family:
- Baking the perfect sugar cookie
- Icing techniques
- Decorating tips
- Storage and presentation
- Fun and rewarding: Decorating sugar cookies
Baking the perfect sugar cookie
The key to a beautifully decorated sugar cookie is a sturdy yet tender base. While sugar cookies are simple to make, getting the right texture for decorating requires a little care. If your cookies are too soft, they might lose their shape when decorating or become too fragile. If they’re too hard, they won’t have that melt-in-your-mouth quality that makes sugar cookies so irresistible.
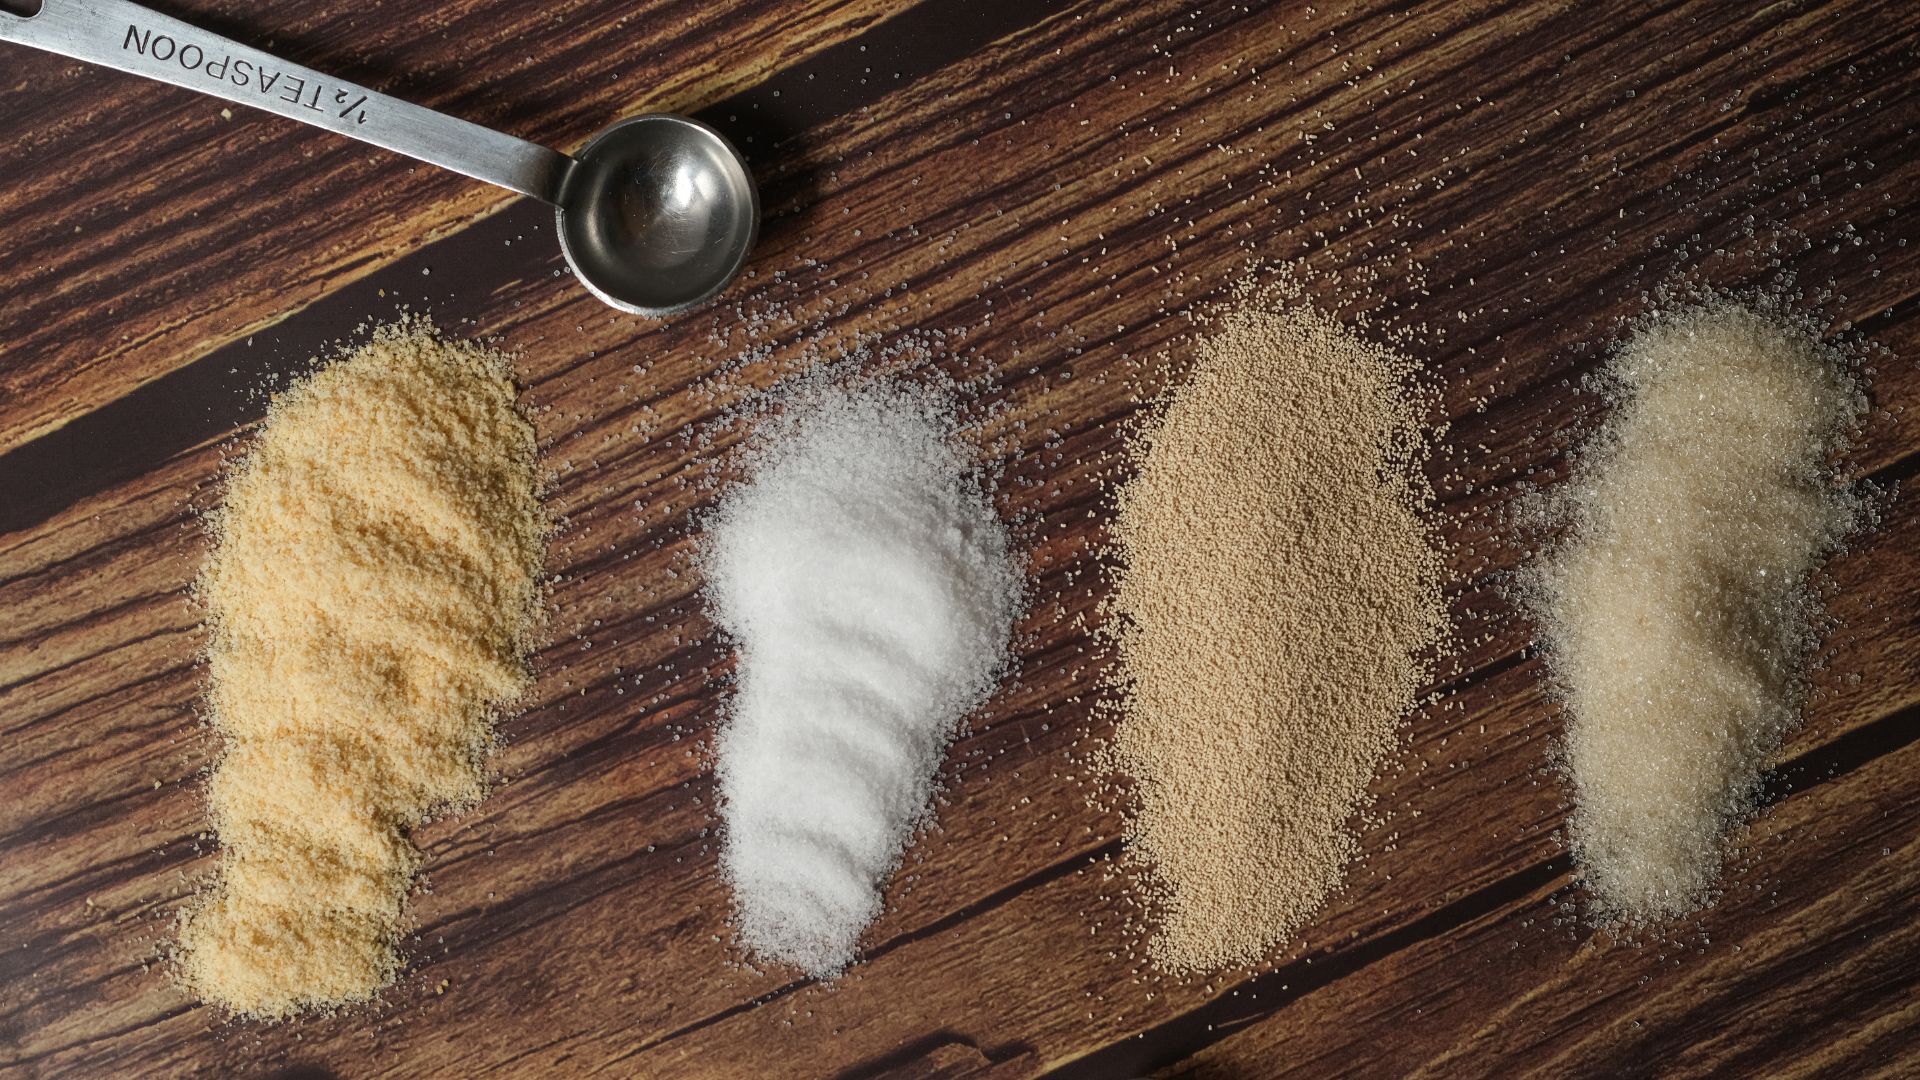
Ingredients:
To make sugar cookies, you’ll need:
- 1 cup of butter (softened)
- 1 cup of granulated sugar
- 1 large egg
- 1 teaspoon of vanilla extract
- 2 teaspoons of baking powder
- 3 cups of all-purpose flour
- A pinch of salt
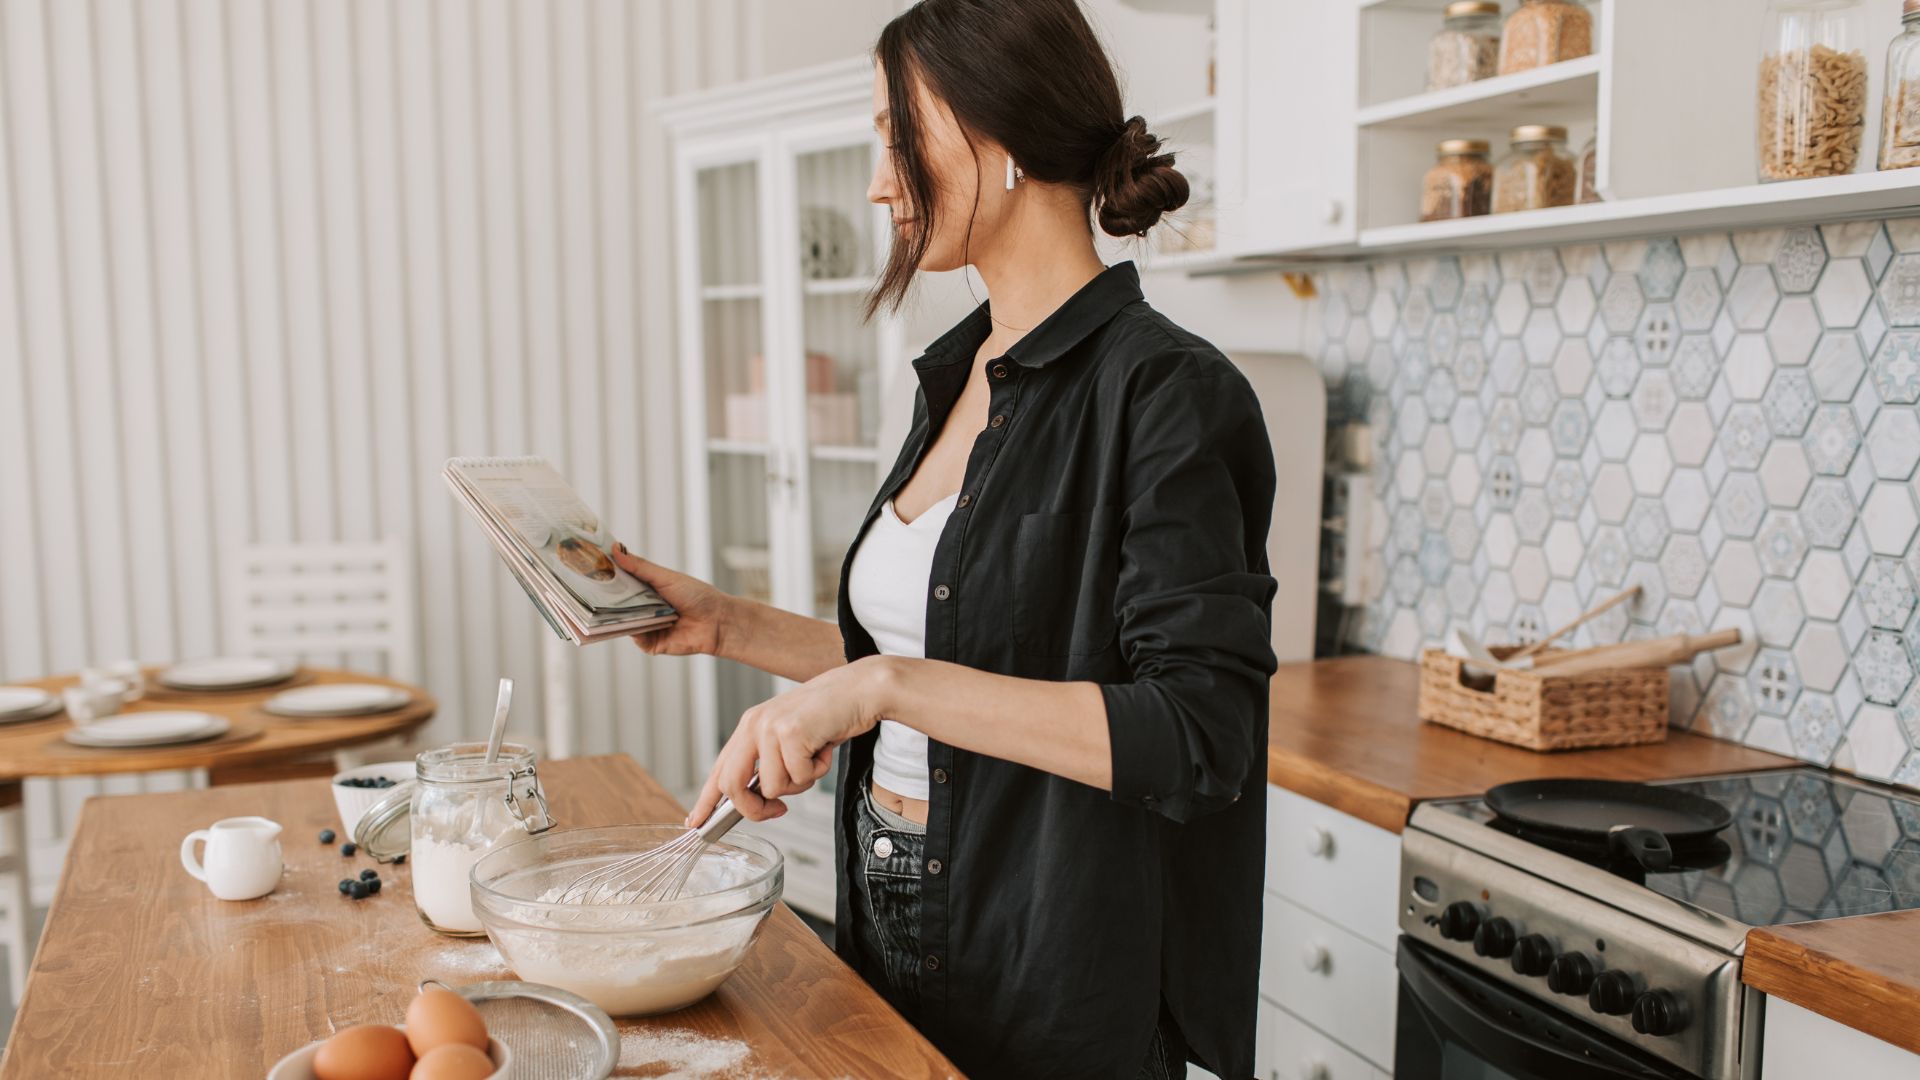
Method:
Start by creaming the butter and sugar together in a large mixing bowl until light and fluffy. This step helps to create the perfect texture for your dough. Beat in the egg and vanilla extract until fully combined. In a separate bowl, whisk together the flour, baking powder, and salt. Gradually add the dry ingredients to the wet ingredients, mixing until everything comes together into a dough.
Once the dough is formed, divide it into two equal portions, wrap them in plastic wrap, and refrigerate for at least 30 minutes. Chilling the dough is crucial for easy handling and preventing the cookies from spreading too much during baking.
Preheat your oven to 180°C (350°F) and line baking trays with parchment paper. Roll out one portion of dough at a time on a floured surface to about 1/4-inch thickness. Use your favourite cookie cutters to create fun shapes, whether you’re going for stars, hearts, or simple circles. Place the cookies on the baking tray, leaving space between them, and bake for about 8-10 minutes or until the edges are lightly golden. Allow the cookies to cool completely before decorating to ensure the icing doesn’t melt.
Icing techniques
Once your cookies are cooled, it’s time to decorate! The two most popular methods for decorating sugar cookies are royal icing and fondant. Both provide smooth, durable finishes, but they have different applications depending on the effect you want.
Royal Icing:
Royal icing is a versatile and traditional option for decorating sugar cookies. It’s made from egg whites (or meringue powder), powdered sugar, and water. The icing hardens as it dries, which is perfect for creating intricate designs and details. To make royal icing, combine 1 egg white (or 2 tablespoons of meringue powder), 3 cups of powdered sugar, and 2 tablespoons of water in a stand mixer. Whisk on medium speed until stiff peaks form.
You can thin the icing with a little more water to create the right consistency for flooding (filling in cookie shapes with icing). For piping, use icing that’s slightly stiffer, and place it in a piping bag fitted with a fine round tip.
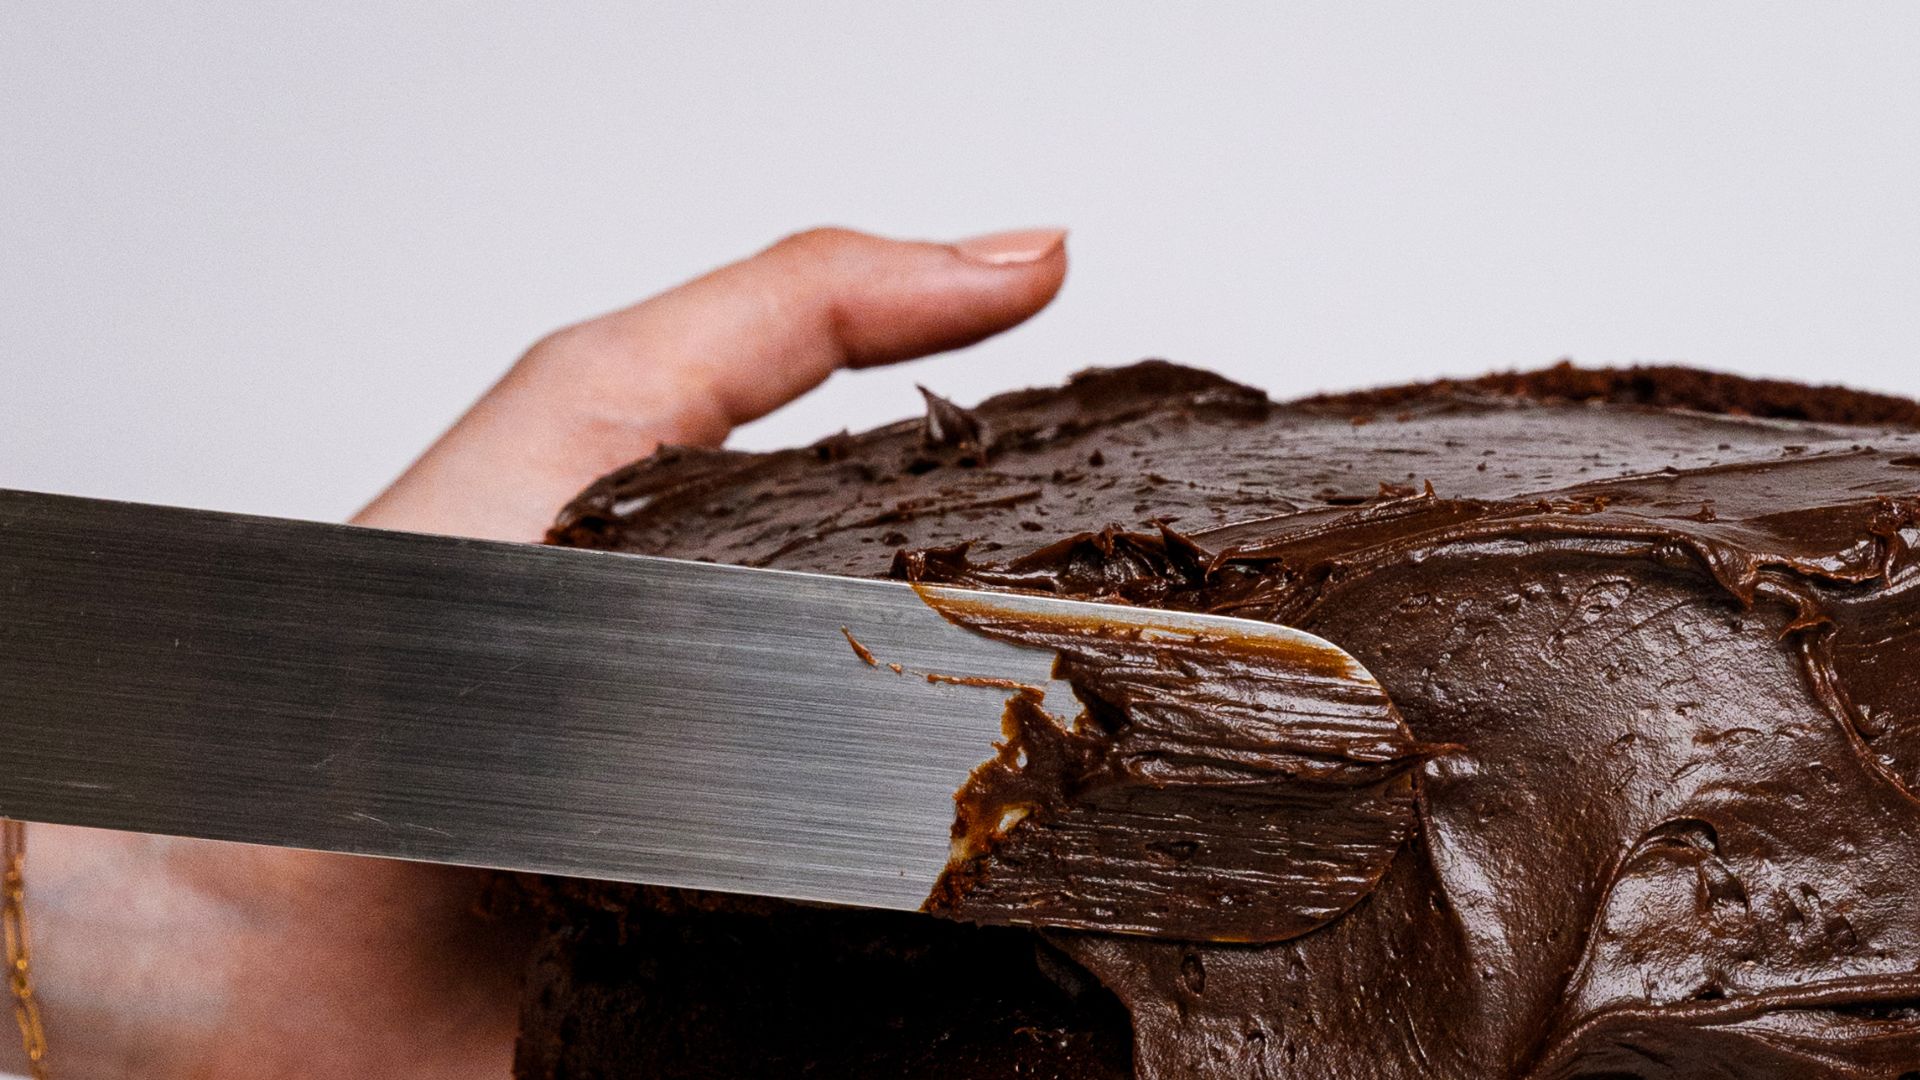
Fondant:
Fondant gives a smooth, professional finish and is ideal for creating clean, polished cookie designs. It’s soft and pliable, making it easy to roll out and cut into shapes that fit your cookies. You can buy fondant pre-made, or you can make your own by combining marshmallows, powdered sugar, and water. Roll the fondant out to about 1/8 inch thickness and cut it into shapes that match your cookies. You can stick the fondant onto the cookie using a small amount of water or edible glue.
Decorating tips
Decorating sugar cookies can be as simple or as intricate as you want it to be. Here are some tips and techniques to help you get creative with your designs.
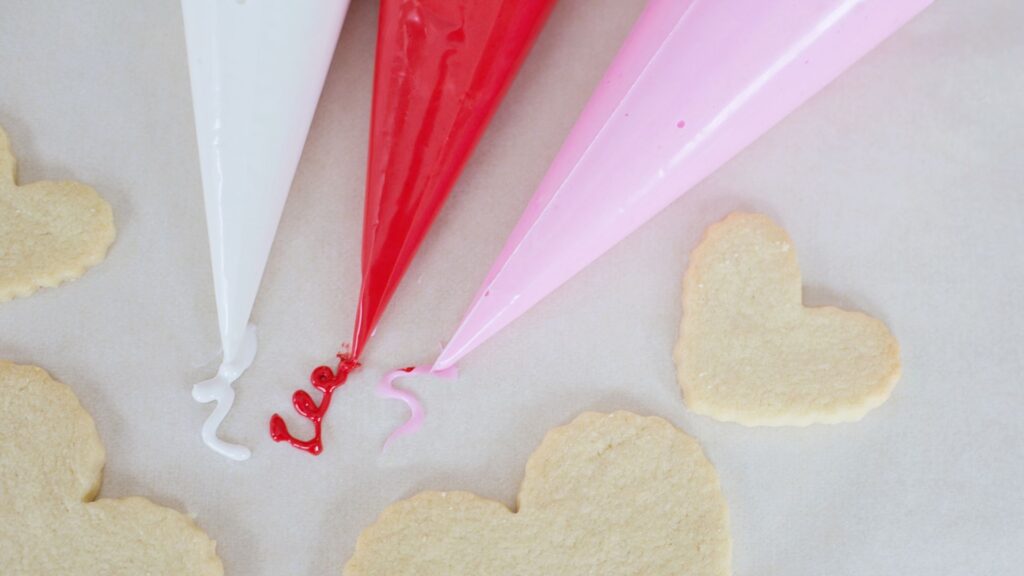
Piping and flooding:
Piping is when you use royal icing to outline the edges of your cookie, creating a border. Flooding refers to filling in the outline with thinned royal icing to create a smooth surface. To pipe, use a small round tip and outline the edges of your cookie with royal icing. Let the outline dry for a few minutes to set. Next, flood the inside of the outline with thinner icing, using a toothpick to spread it evenly. Allow the icing to dry before moving on to the next layer.
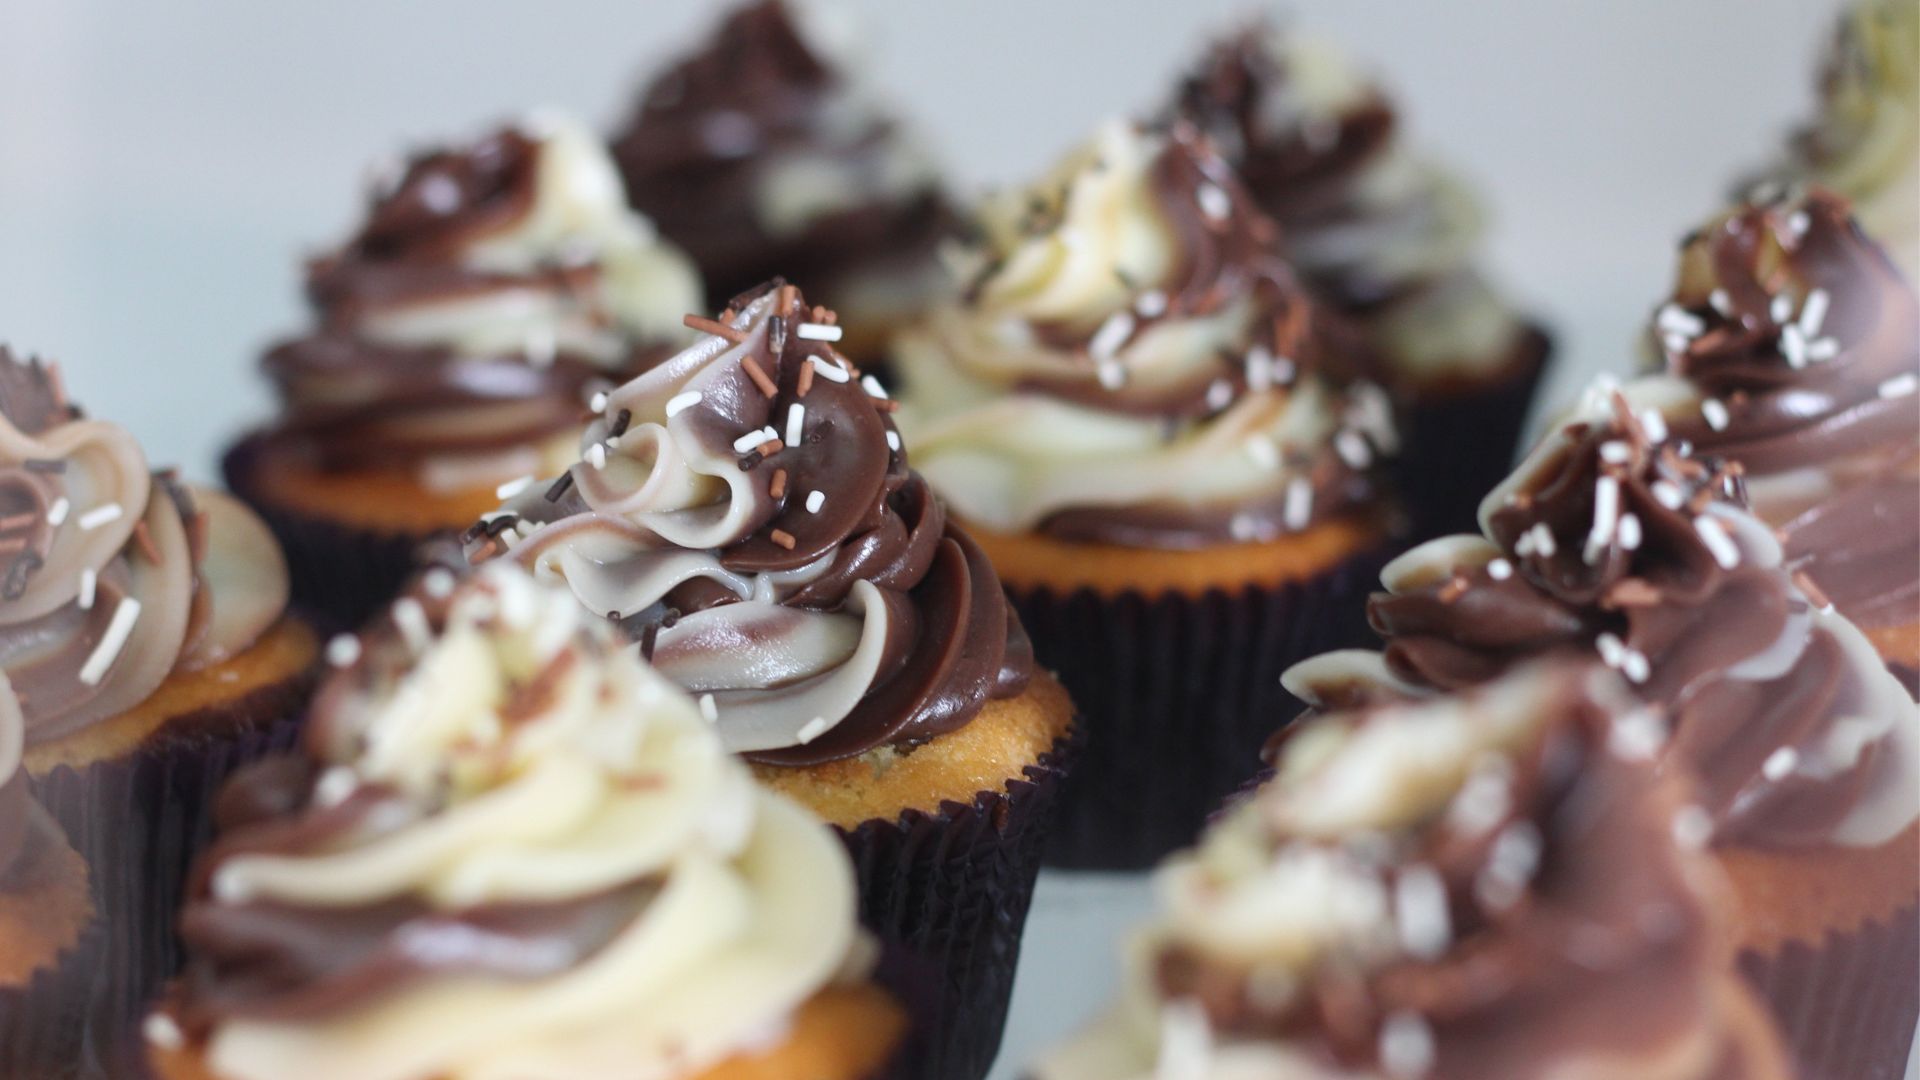
Adding fun details:
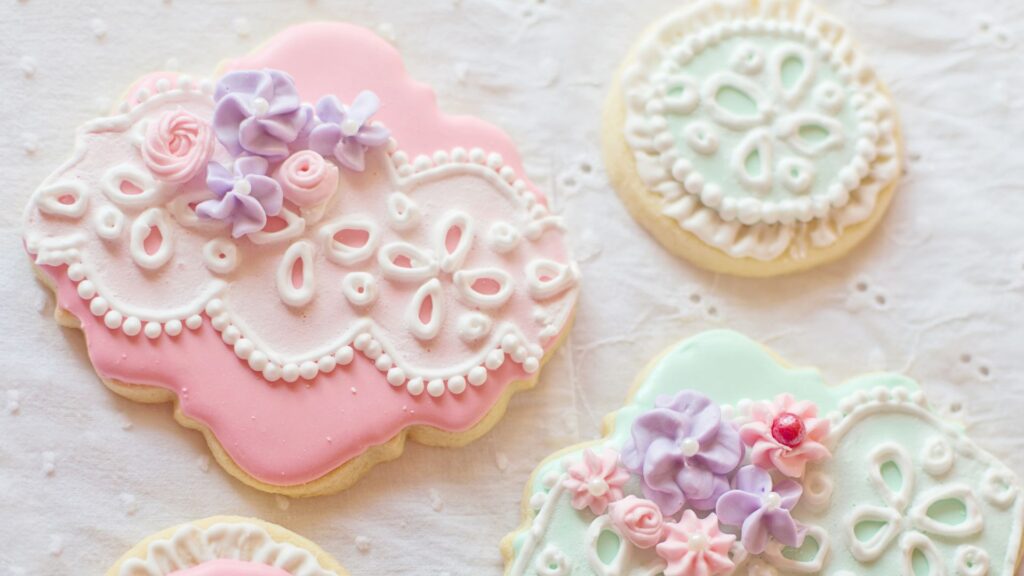
Once the base layer of icing has dried, you can add fun details using contrasting colours of icing, edible glitter, sprinkles, or even small edible pearls. For an extra pop, use a fine piping tip to add small dots or lines. You can also create fun textures by using a stencil or embossing tools to press designs into the icing before it sets.
Layering icing:
To achieve more dimension, consider layering different colours of icing. Start with a base layer of one colour and let it dry completely before adding additional details on top. This technique allows you to create intricate patterns, like flowers, stripes, or polka dots.
Storage and presentation
Once your sugar cookies are decorated and dry, storing and presenting them properly will ensure they stay fresh and look beautiful for your event.
Decorated cookies should be stored in an airtight container to maintain freshness. If you’ve used royal icing, make sure the cookies are completely dry before stacking them to avoid smudging the designs. To keep the cookies from absorbing moisture, place a sheet of parchment paper between layers of cookies.
If you’ve made a batch in advance, you can also freeze the decorated cookies. Simply place the cookies on a tray lined with parchment paper, freeze them for an hour to set the decorations, and then transfer them into a freezer-safe container. Thaw the cookies at room temperature for a few hours before serving.
To present your decorated cookies in a fun and elegant way, consider arranging them on a decorative platter, cake stand, or even wrapping them up in clear gift bags tied with ribbon for a personal touch. If you’re giving them as gifts, you can add a little extra charm by placing them in a decorative box or using festive packaging.
💡Pro Tip: To prevent your royal icing from smudging while storing or stacking decorated cookies, allow the icing to dry completely for at least 12 hours before handling. This ensures the designs set properly and stay intact.
Fun and rewarding: Decorating sugar cookies
Making beautifully decorated sugar cookies is a fun and rewarding activity that lets your creativity shine. Whether you’re baking for a special occasion or simply want to brighten up your day with a few whimsical designs, these cookies are always a hit. With the right techniques and a little practice, you’ll soon be creating stunning cookies that look as good as they taste.
Let’s recap today’s article:
- Combine butter, sugar, egg, vanilla, flour, baking powder, and salt. Chill the dough before rolling it out to 1/4-inch thickness, cut into shapes, and bake at 180°C (350°F) for 8-10 minutes.
- Use royal icing for detailed designs and fondant for a smooth finish. Royal icing hardens and is perfect for piping and flooding, while fondant provides a clean, professional look.
- Outline your cookie with royal icing (piping), then fill in the outlined space with thinned icing (flooding). Allow the icing to dry between layers for precision.
- Once the base layer dries, add extra details with contrasting icing colours, sprinkles, edible glitter, or small edible pearls for a creative touch.
- Store decorated cookies in an airtight container to preserve freshness. If stacking, place parchment paper between layers to prevent smudging. You can also freeze decorated cookies after they’ve set.
- Present your cookies on a decorative platter or cake stand, or wrap them in gift bags for a personal touch. Use decorative packaging to make them extra special.
So, grab your favourite cookie cutters, your piping bags, and get decorating – it’s time to make some gorgeous sugar cookies!