
There’s something truly magical about the smell of fresh bread wafting through your home, filling the air with warmth and comfort. Homemade bread is not only delicious but incredibly satisfying to make. The simplicity of it – just a handful of ingredients and a little patience – is what makes baking bread so rewarding. Unlike the store-bought variety, homemade bread comes with the added bonus of knowing exactly what goes into it, and you can adjust the recipe to your taste.
In today’s article we’re covering:
- Gathering your ingredients
- Kneading and rising
- Shaping and baking
- Serving tips
- A rewarding experience: Making bread from scratch
The good news? Making bread from scratch is far easier than it sounds, and you don’t need a professional bakery to do it. With a bit of time, a few basic ingredients, and a little bit of love, you can bake a loaf that’s perfect for your next family meal or afternoon snack. Let’s get started!
Gathering your ingredients
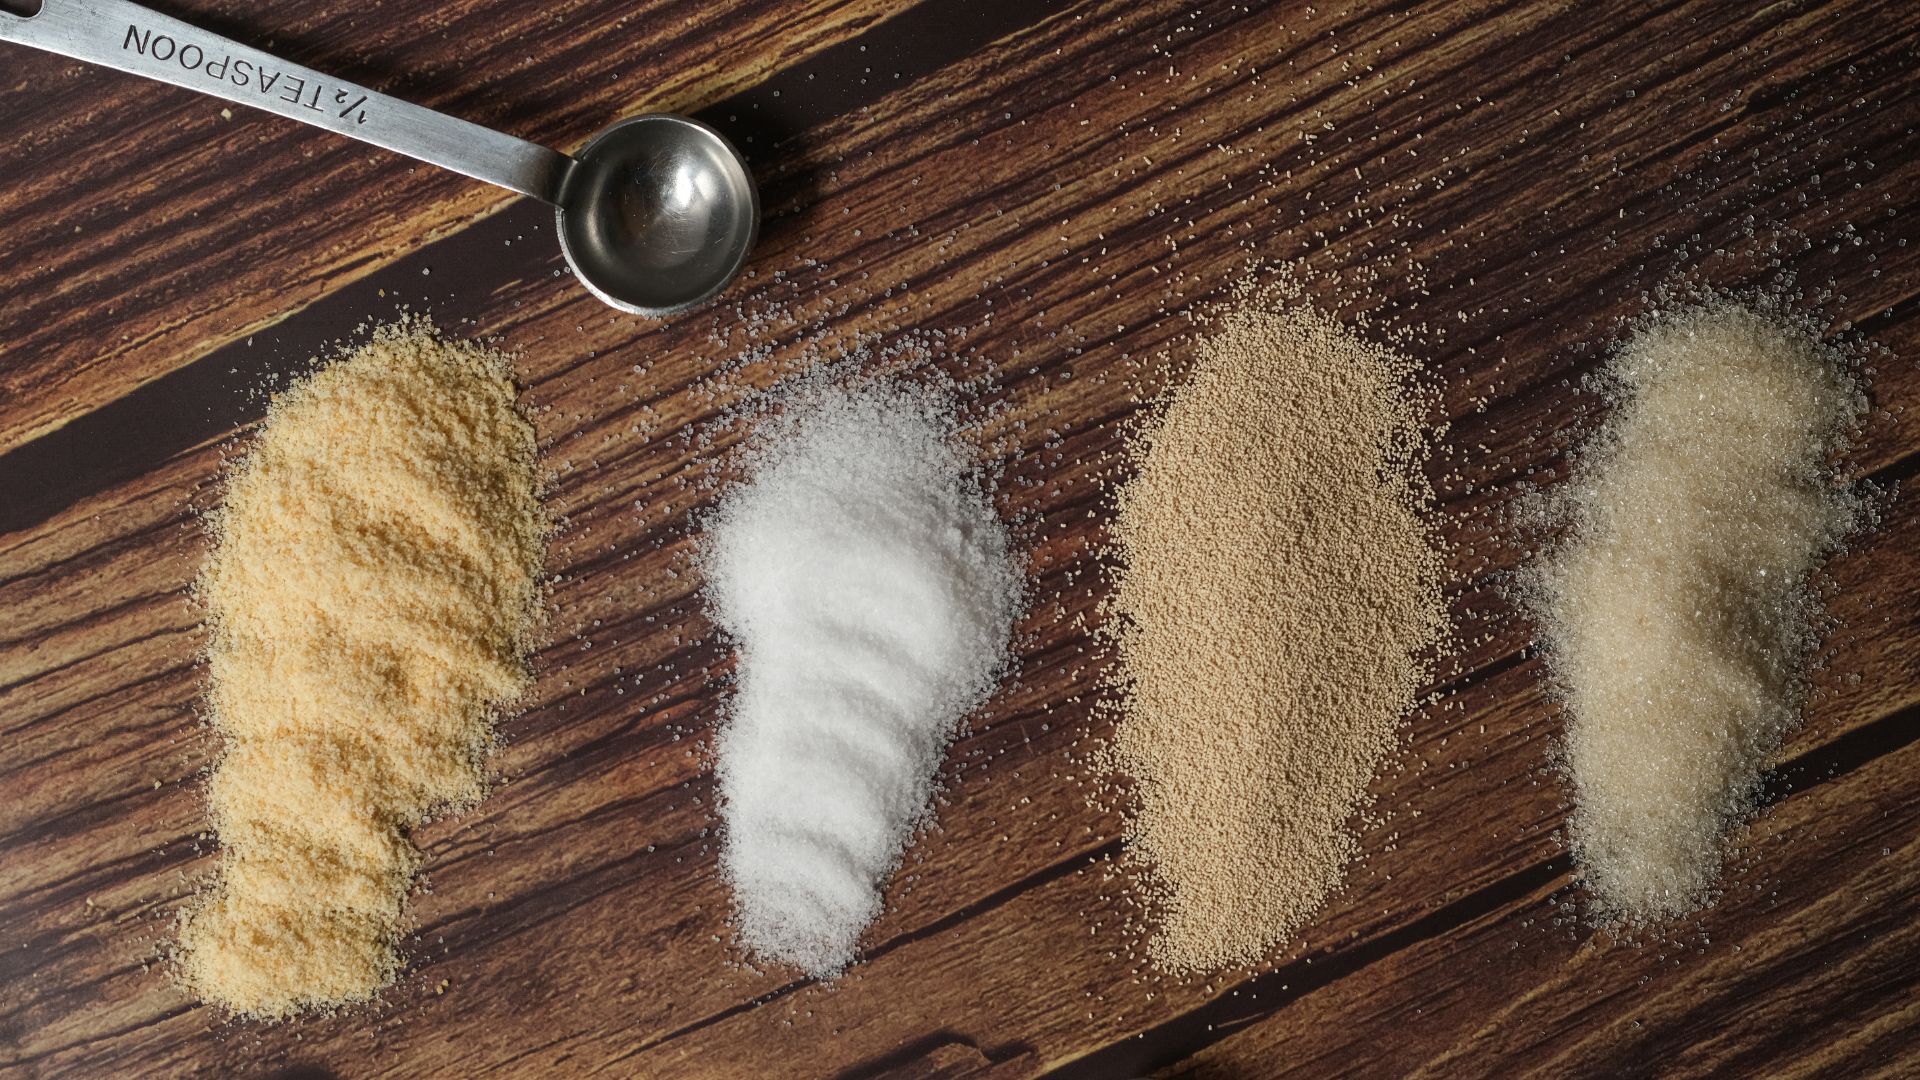
Before you dive into the process, it’s important to gather the right ingredients. Bread making is all about simplicity, but the quality of the ingredients can make all the difference. Here’s what you’ll need:
Flour – The foundation of any good loaf. While you can use all-purpose flour, bread flour (which has a higher protein content) will give your bread that perfect chewy texture. If you’re after a denser loaf, you can mix in some whole wheat flour for added flavour and texture.
Yeast – Yeast is what makes the bread rise and gives it that lovely fluffiness. Active dry yeast or instant yeast works perfectly for most bread recipes. Instant yeast doesn’t need to be activated in warm water, making it slightly easier to use. Be sure to check the expiry date on the packet to ensure your yeast is still active!
Water – Water activates the yeast and helps form the dough. It should be lukewarm (about 40°C) – too hot, and you’ll kill the yeast, too cold, and the yeast won’t activate. If you don’t have access to tap water, feel free to use filtered or bottled water.
Salt – Salt adds flavour and helps control the yeast’s activity. Don’t skip this step – it’s a key ingredient for making your bread taste amazing.
Sugar (optional) – Some recipes call for a bit of sugar to help kickstart the yeast. It’s not always necessary, but a teaspoon or so can give your bread a nice golden colour and a subtle sweetness.
Olive oil or butter (optional) – Adding a little fat to your dough can result in a softer, more tender crumb. If you like, you can substitute olive oil or butter for part of the water in the recipe.
When selecting your ingredients, try to go for the best quality you can afford. Fresh flour, active yeast, and a good-quality olive oil will elevate your bread and give it that perfect texture and flavour. Now that you’ve got your ingredients, let’s move on to the fun part: making the dough!
Kneading and rising
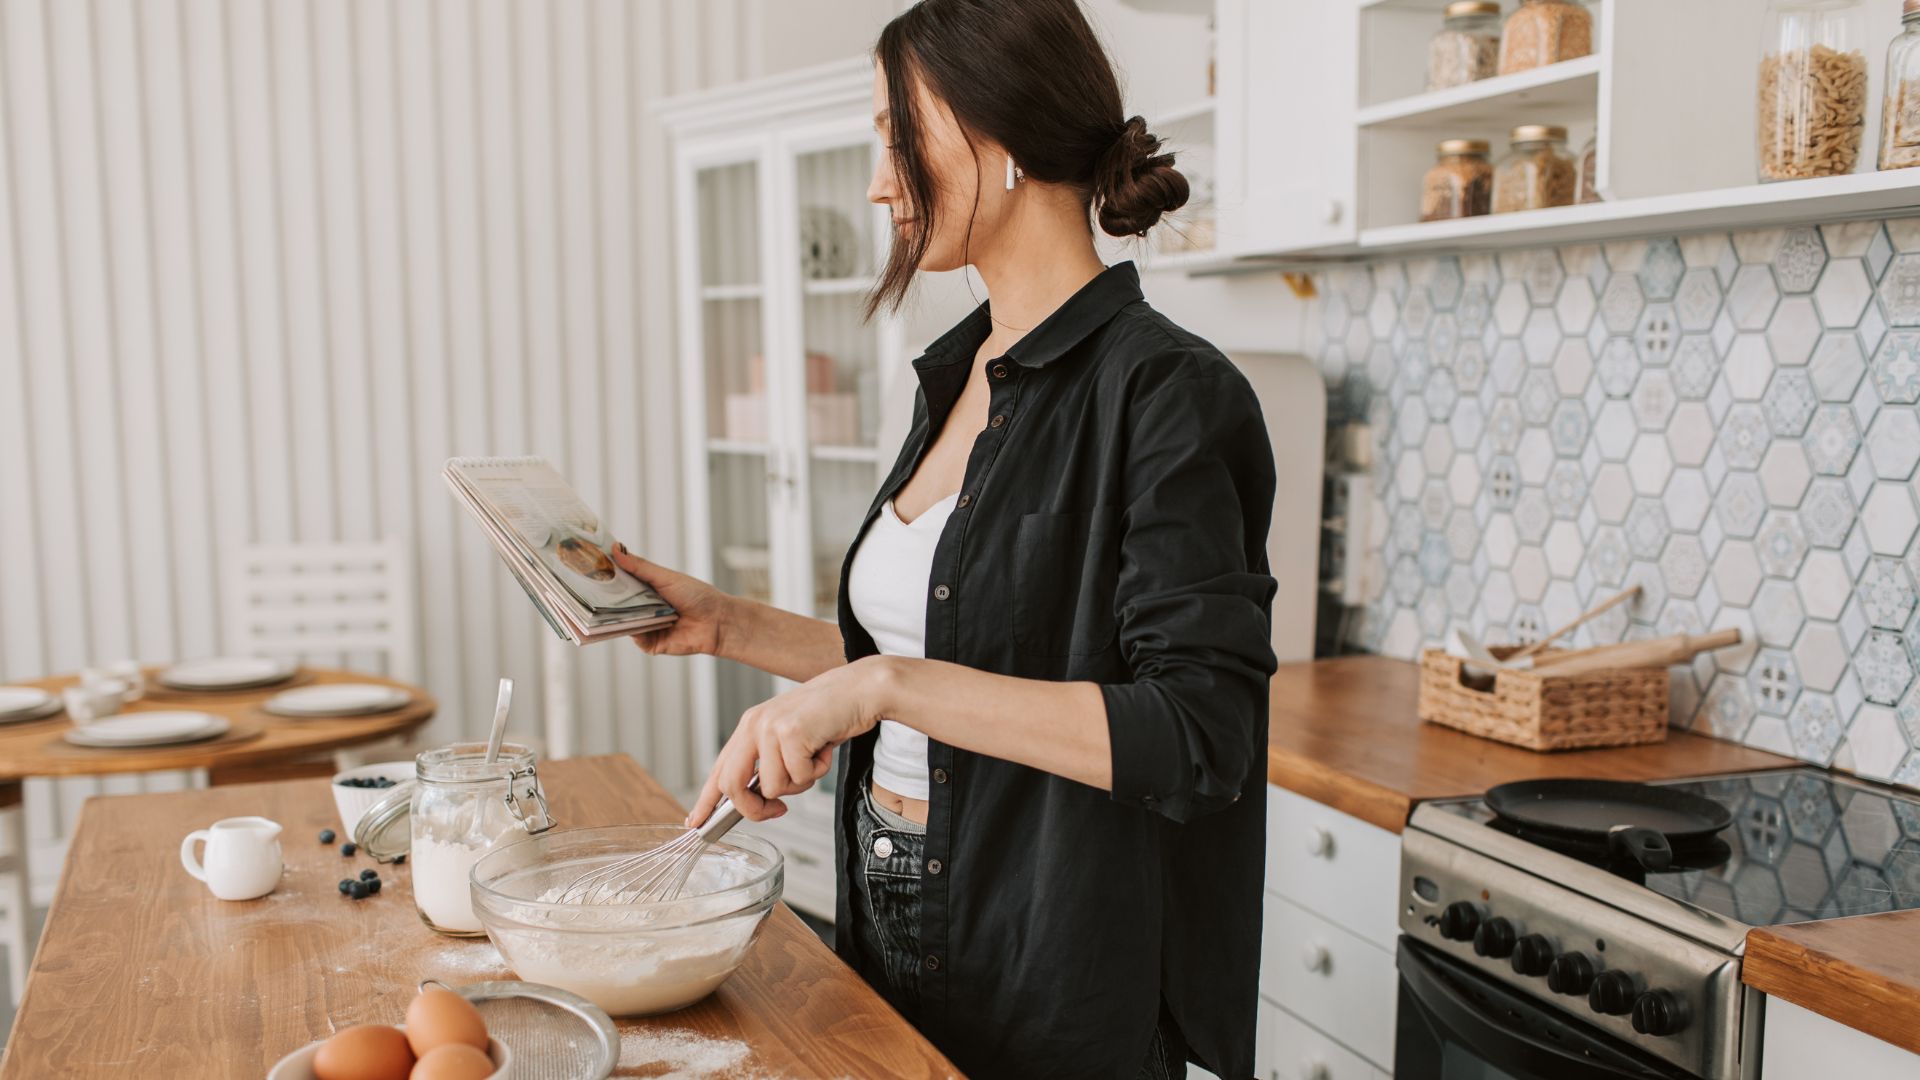
Kneading the dough is a crucial step in bread-making. It’s how you develop the gluten, which gives your bread its structure and texture. The key here is patience – don’t rush it!
Start by mixing your flour, yeast, salt, and sugar in a large bowl. Once they’re combined, slowly add the water and any oil or butter you’re using. Stir until the dough begins to come together, and then tip it out onto a clean surface to knead.
To knead the dough, fold it over itself, press it down with the heels of your hands, and then rotate it a quarter turn. Repeat this process for about 10 minutes, adding a small amount of flour if the dough is too sticky. You’ll know it’s done when the dough feels smooth and elastic, and doesn’t stick to your hands anymore. If you’re in a hurry, you can use a stand mixer with a dough hook to do the work for you – but kneading by hand is always a rewarding experience.
Once your dough is kneaded, it’s time for the first rise. Place the dough in a lightly oiled bowl and cover it with a clean tea towel or plastic wrap. Let it rise in a warm spot for about 1 to 1.5 hours, or until it has doubled in size. This is where the magic happens – the yeast feeds on the sugar and creates gas bubbles, causing the dough to rise and become airy.
Shaping and baking
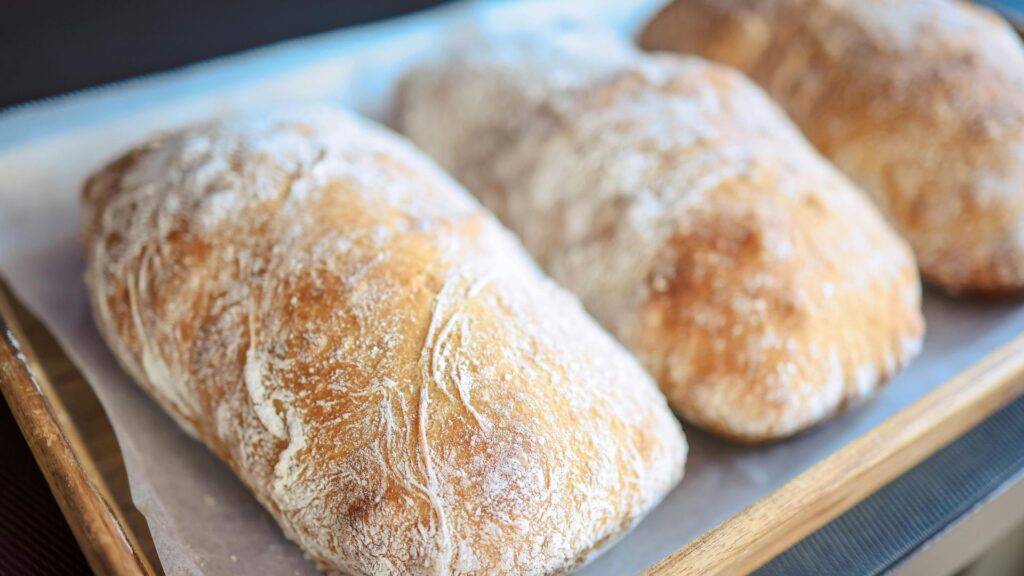
Once the dough has risen, it’s time to shape it. Gently punch it down to release the air, then turn it out onto a floured surface. Roll it into a loaf shape by folding in the sides and pinching the seams together. You can shape it into a round boule or a long, oblong loaf – whichever you prefer.
Next, transfer your shaped dough into a greased loaf tin or onto a baking tray, depending on the shape you’ve chosen. Before baking, score the top of the loaf with a sharp knife or razor blade. Scoring allows the bread to expand evenly as it bakes, creating a beautiful, rustic finish. If you’re making a round loaf, make a cross pattern, or create a few parallel slashes across the top.
Now it’s time for the second rise, which takes about 30 minutes. Let the dough rest while your oven preheats to 220°C (200°C fan) or 425°F. Place a baking stone or tray in the oven to help evenly distribute the heat, or you can bake directly on the oven rack. If you want a soft crust, you can brush the top with a little milk or water before baking.
Bake your bread for 25-30 minutes, or until it’s golden brown and sounds hollow when tapped on the bottom. If you’ve used a loaf tin, it may need a little longer. You can also check the internal temperature with a food thermometer – it should reach about 90°C (190°F) when done.
Serving tips
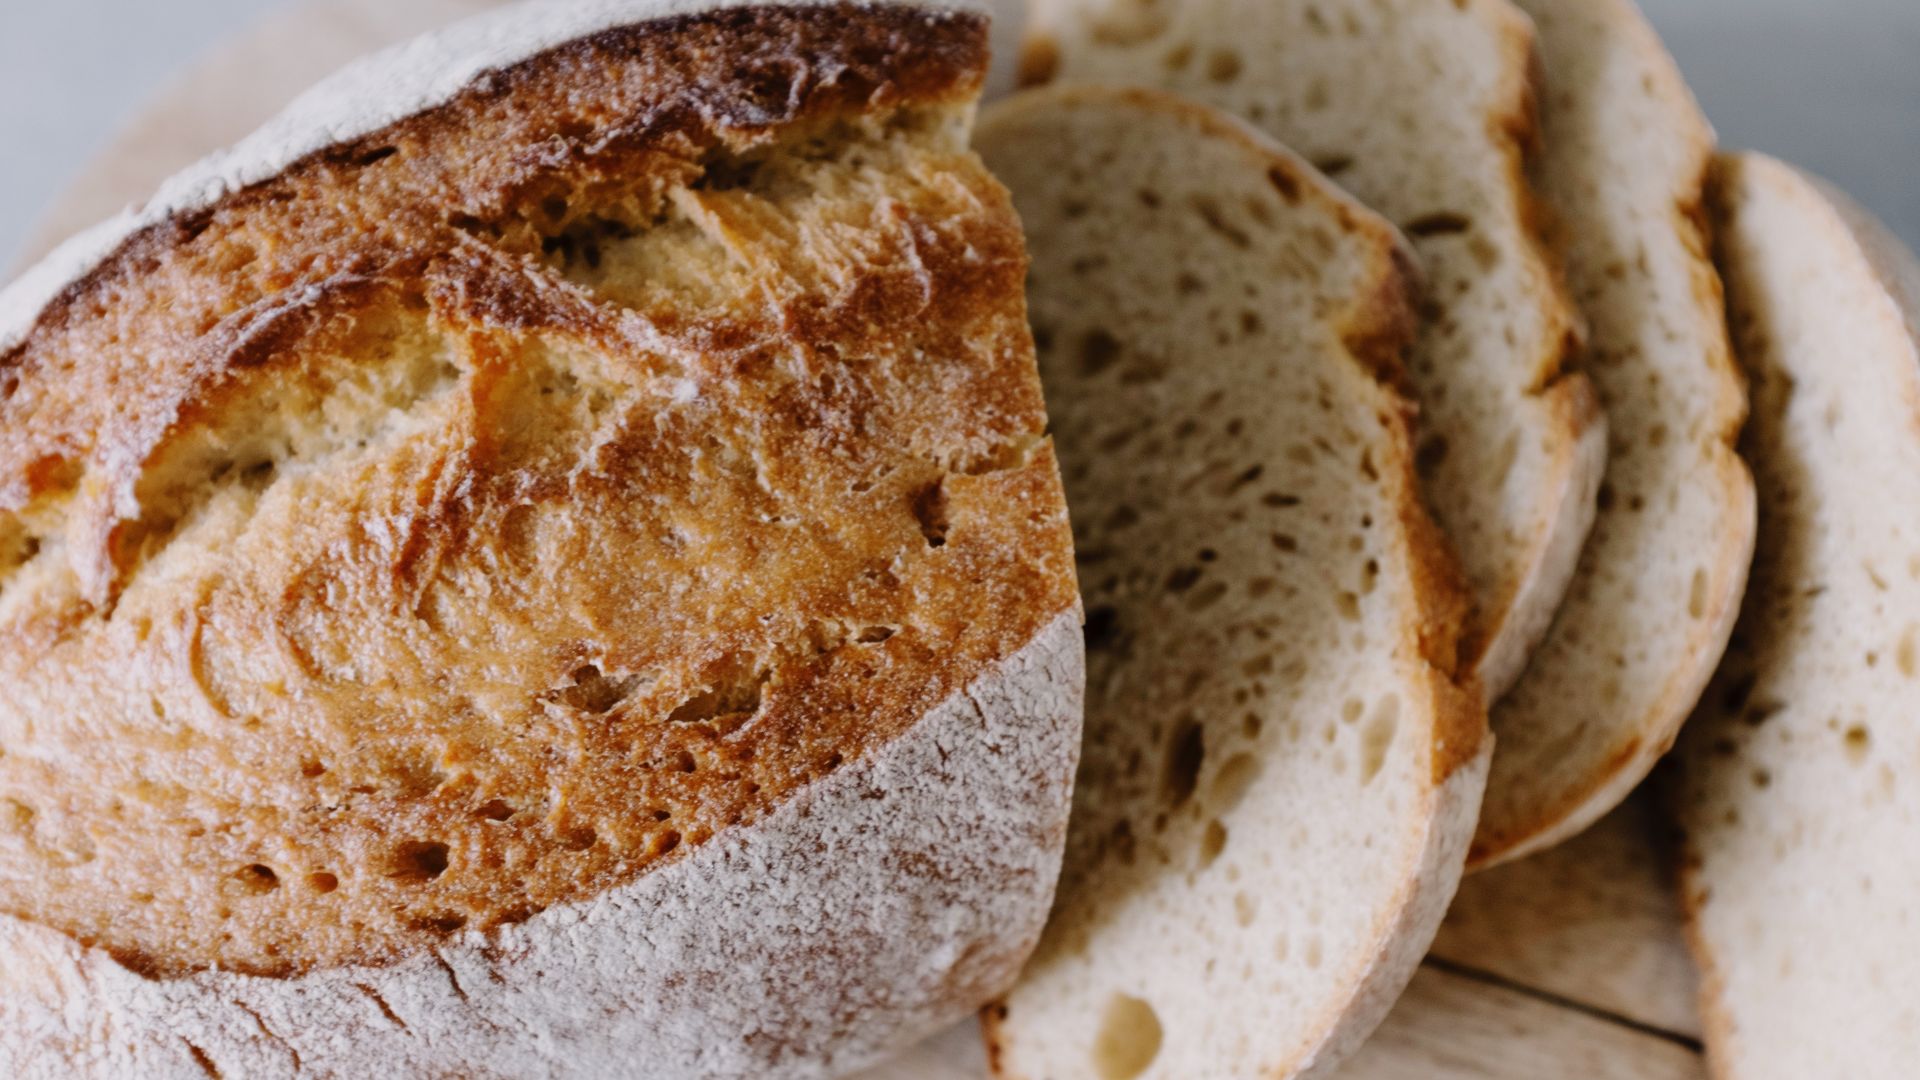
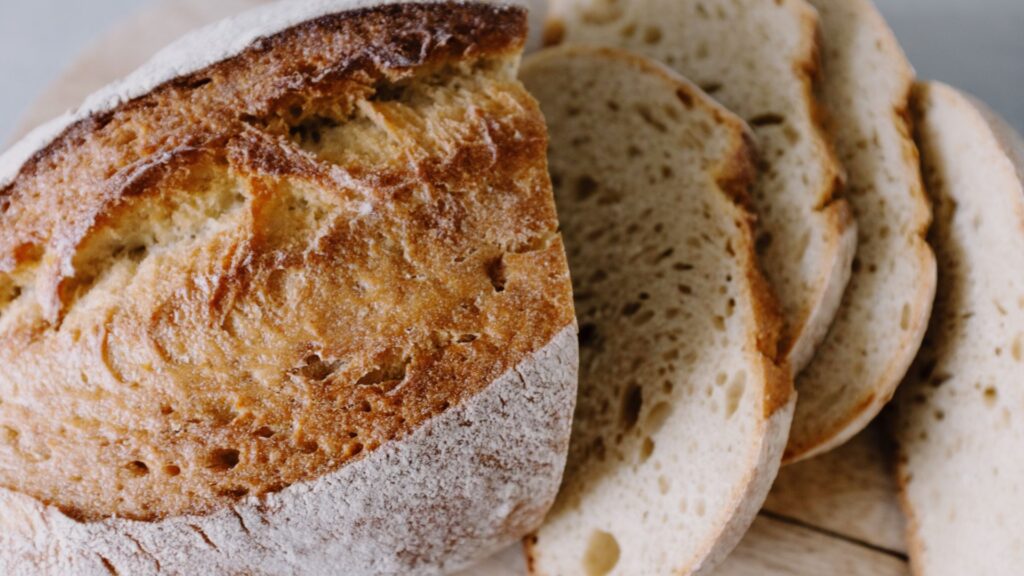
Once your bread is out of the oven, let it cool completely on a wire rack before slicing. The cooling process is crucial as it allows the bread to firm up and finish setting. It might be tempting to cut into it right away, but resist – your patience will be rewarded!
For storing, homemade bread is best kept in a bread bin or wrapped in a tea towel to maintain its freshness. It can last for about 3-4 days, though it’s best eaten within the first couple of days. If you find yourself with leftover bread, don’t worry – it makes fantastic toast or can be used to make sandwiches or even homemade croutons.
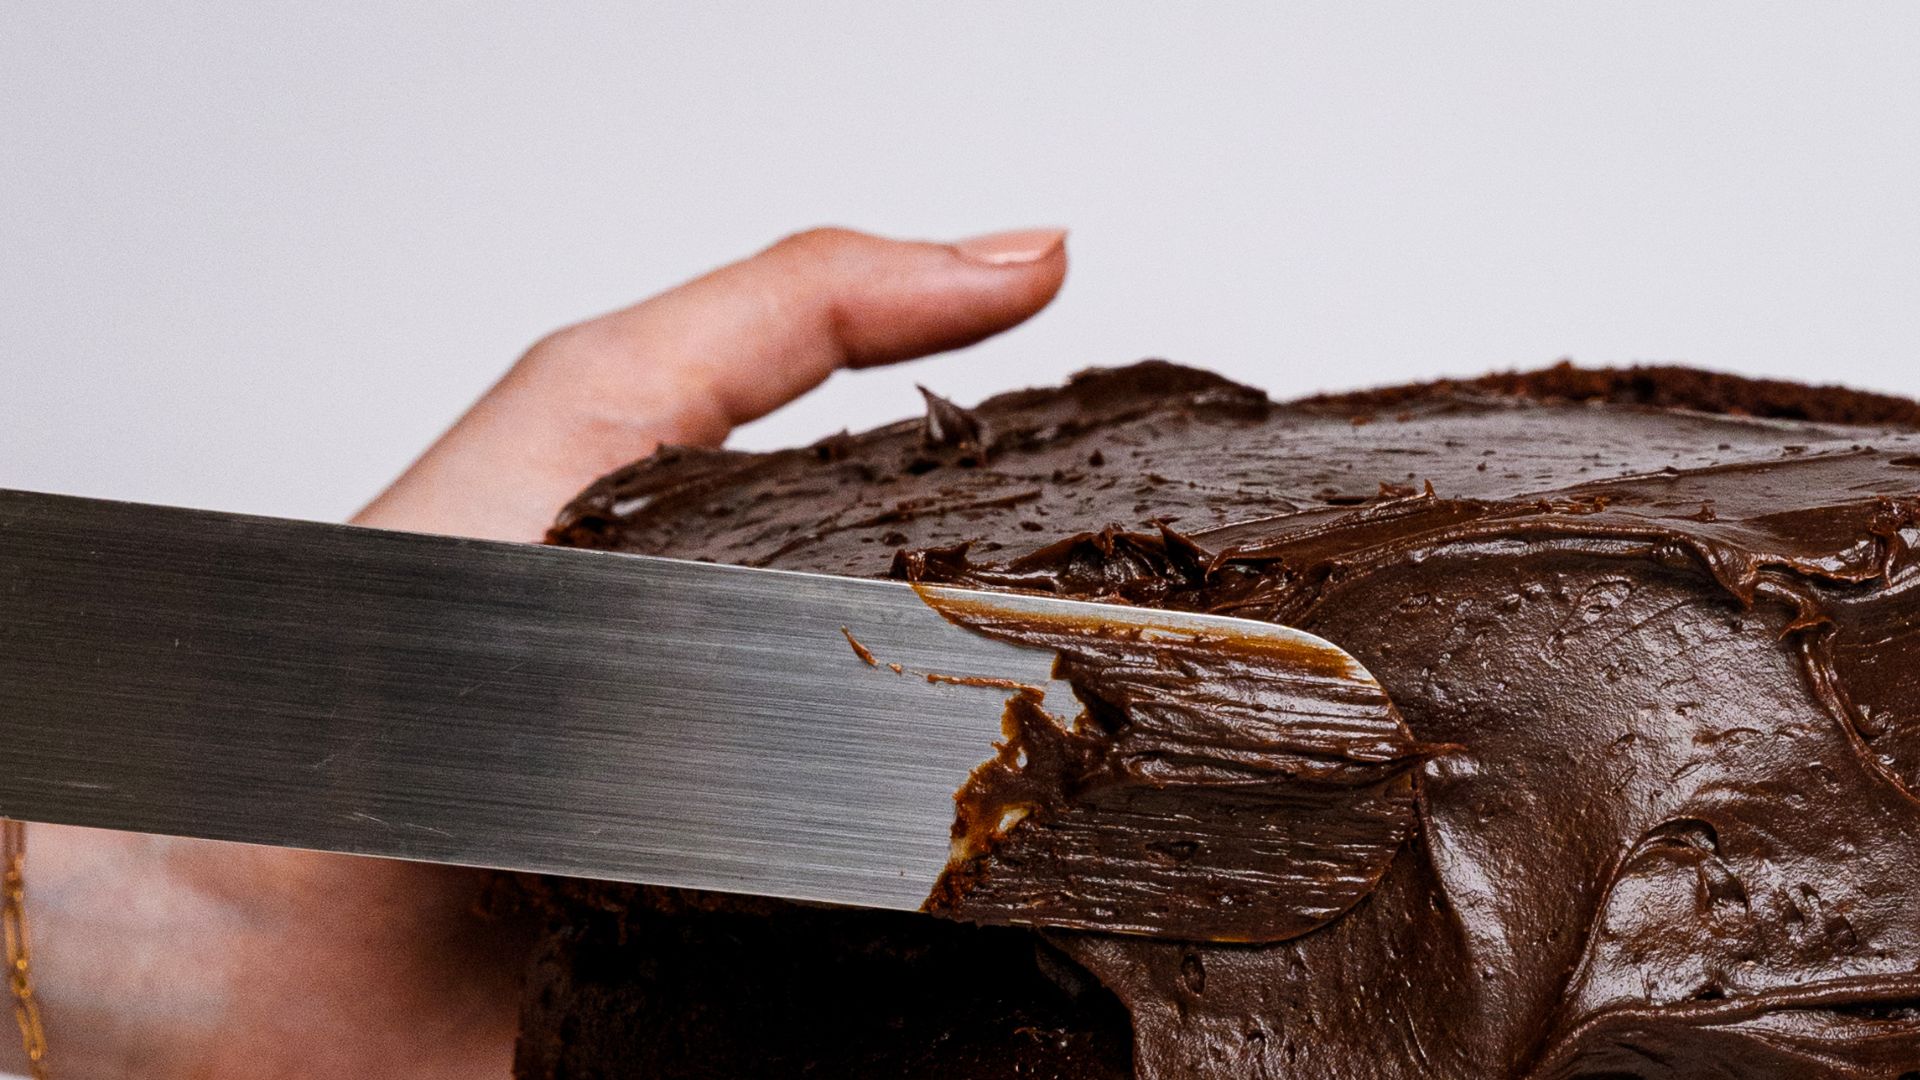
Serve your freshly baked bread with a dollop of butter, your favourite jam, or as the base for a hearty sandwich. If you’re feeling adventurous, try making a simple garlic bread or dipping it in olive oil with balsamic vinegar – the possibilities are endless!
💡 Pro Tip: To give your homemade bread an extra boost of flavour and a beautiful crust, try adding a small amount of honey or malt syrup to the dough. These ingredients help with caramelisation during baking, resulting in a richer taste and a gorgeous golden-brown finish. Just a teaspoon or two is all you need!
A rewarding experience: Making bread from scratch
Making bread from scratch may seem like a daunting task, but once you get the hang of it, it’s an incredibly rewarding experience. The simplicity of the ingredients, the satisfaction of kneading the dough, and the joy of pulling a golden, fresh loaf out of the oven is unmatched.
Let’s recap one more time:
- You’ll need flour, yeast, water, salt, and optional sugar or fat (like olive oil or butter). Choose high-quality ingredients for the best results.
- Mix your dry ingredients and gradually add water and fat. Knead the dough by hand for 10 minutes, ensuring it’s smooth and elastic.
- Let the dough rise in a warm spot for 1 to 1.5 hours, or until it has doubled in size. This allows the yeast to activate and make the dough airy.
- Punch down the dough, shape it into a loaf, and transfer it to a loaf tin or baking tray. Score the top for even expansion during baking.
- Let the dough rise for 30 minutes, then bake at 220°C (200°C fan) for 25-30 minutes or until golden brown and hollow-sounding when tapped.
- Allow the bread to cool before slicing. Store it in a bread bin or wrapped in a tea towel, and enjoy it within a few days for the best flavour and texture.
So, grab your flour, yeast, and a pinch of patience, and enjoy the process of creating your very own homemade bread!