The Basics of Candle Making: Create Your Own Fragrant Delights
Candle making is an art that combines creativity and craftsmanship, allowing you to create your own fragrant and ambient wonders. Whether you’re a seasoned crafter or a curious beginner, this guide will illuminate the basics of candle making, offering you a delightful journey into the world of scents and wax.
Understanding the Basics of Candle Making
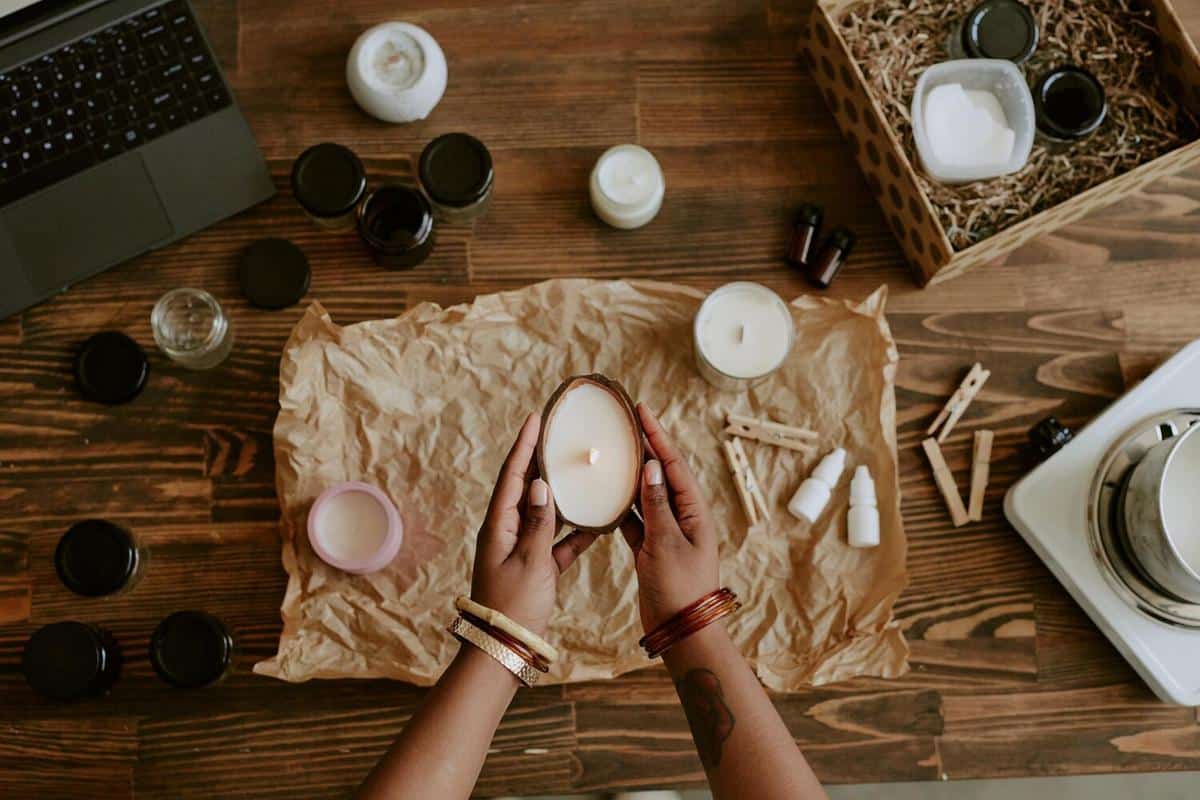
Candle making is a rewarding craft that blends science and creativity. At its core, it involves melting wax, adding fragrance, inserting a wick, and letting it cool into a solid form. This simple process allows for endless customization, from scents and colors to shapes and sizes.
Types of Wax
| Wax Type | Characteristics | Best For |
|---|---|---|
| Paraffin Wax | Easy to use, holds scent well | Beginners, scented candles |
| Soy Wax | Eco-friendly, burns slowly | Long-lasting candles |
| Beeswax | Natural, emits a honey scent | All-natural candles |
| Palm Wax | Crystallizes for a unique texture | Decorative candles |
| Gel Wax | Transparent, can suspend items | Novelty candles |
| Coconut Wax | Slow burn, excellent scent throw | Luxury candles |
| Rapeseed Wax | Sustainable, vegan | Eco-conscious candles |
| Bayberry Wax | Rare, pleasant natural fragrance | Traditional candles |
Choosing the Right Wick
The wick plays a crucial role in how your candle burns. A wick that’s too small may result in tunneling, while one that’s too large might cause soot. Consult with experts or use wick sizing charts for guidance.
“A well-chosen wick ensures a candle burns evenly and efficiently,” notes a seasoned candle maker from Craft Association.
Adding Fragrance and Color
Fragrances and colors can transform a simple candle into a sensory delight. Essential oils and fragrance oils offer a wide range of scents, while liquid or block dyes can be used for coloring. Remember to follow the recommended ratios to avoid overpowering scents or clogged wicks.
For stronger scent throw, allow your candles to cure for at least 48 hours before burning.
Essential Tools and Supplies
- Double boiler or melting pot
- Thermometer
- Pouring pitcher
- Stirring utensils
- Heatproof containers
- Wick holders
Step-by-Step Candle Making Process
- Prepare your workspace: Ensure it’s clean and well-ventilated.
- Melt the wax: Use a double boiler to melt your wax of choice.
- Add fragrance and color: Stir in fragrance oils and dyes at the recommended temperature.
- Attach the wick: Secure it at the bottom of your container using wick stickers or glue dots.
- Pour the wax: Carefully pour the melted wax into your container, holding the wick in place.
- Let it cool: Allow the candle to cool and solidify completely.
- Trim the wick: Trim the wick to about 1/4 inch before burning.
Frequently Asked Questions
What is the best wax for beginners?
Paraffin wax is often recommended for beginners due to its ease of use and availability.
How can I make my candles more sustainable?
Opt for eco-friendly waxes like soy or beeswax, and consider natural wicks made from cotton or wood.
Why does my candle tunnel?
Tunneling occurs when the wick is too small or the candle is not burned long enough for the wax to melt evenly.
Conclusion
In conclusion, candle making is a versatile and enjoyable craft that allows you to express your creativity while creating beautiful, fragrant pieces. By understanding the basics and experimenting with different techniques and materials, you can craft candles that are not only decorative but also functional. So gather your supplies, unleash your creativity, and enjoy the warmth and aroma of your homemade candles.


