
Yeast is a tiny but mighty ingredient that plays a crucial role in many of the breads, rolls, and pastries we love. Whether it’s a soft, fluffy loaf of bread or the delicate layers of a croissant, yeast is the secret behind the rise and texture of countless baked goods.
What we’ll cover today:
- The importance of yeast in baking
- Types of yeast
- Proofing and kneading
- Common yeast issues
- Recipes using yeast
- Understanding yeast: Bread, pastries, the perfect rise
Understanding how yeast works can help you become more confident in the kitchen, as you’ll know exactly how to handle it to get the best results. In this article, we’ll delve into what yeast is, the different types available, and how to work with it to create delicious, perfectly risen baked goods.
The importance of yeast in baking
Yeast is a living organism, a type of fungus that feeds on sugars in the dough and produces carbon dioxide gas and alcohol in a process called fermentation. It’s the carbon dioxide that’s key – as the gas bubbles form, they get trapped in the dough, causing it to rise and develop the airy texture we associate with good bread. The alcohol, meanwhile, evaporates during baking, leaving behind that delightful depth of flavour that makes fresh bread so irresistible.
Without yeast, your dough would remain dense and heavy, with no rise or fluffiness. This is why yeast is the backbone of so many baked goods, including everything from pizza dough to cinnamon rolls, bagels, and soft rolls. But working with yeast requires a bit of knowledge to make sure your dough turns out just right, so let’s look at the different types of yeast and how to use them.
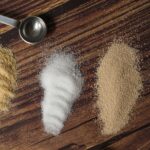
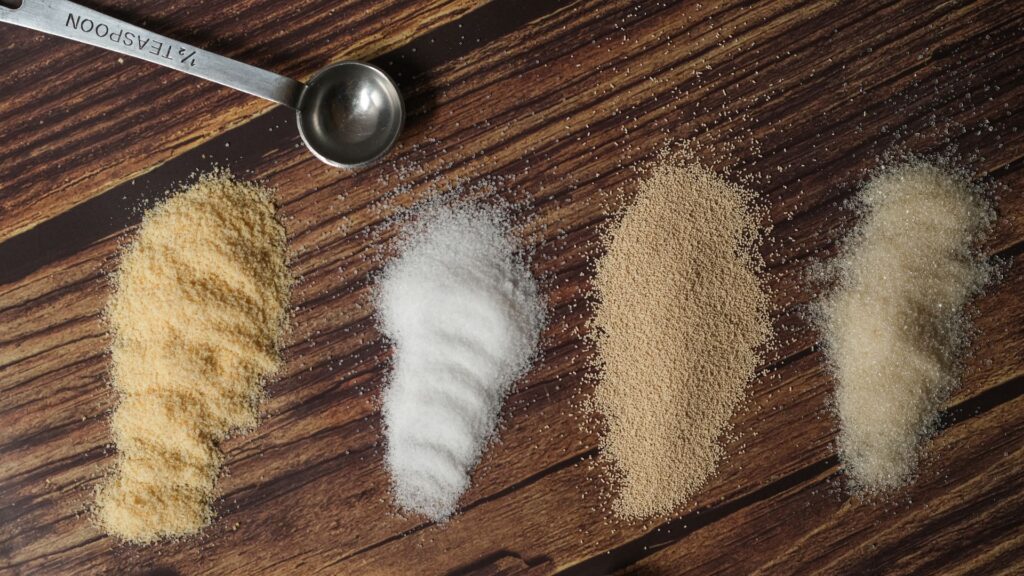
Types of yeast
There are several types of yeast used in baking, and understanding the differences will help you choose the best one for your recipe.
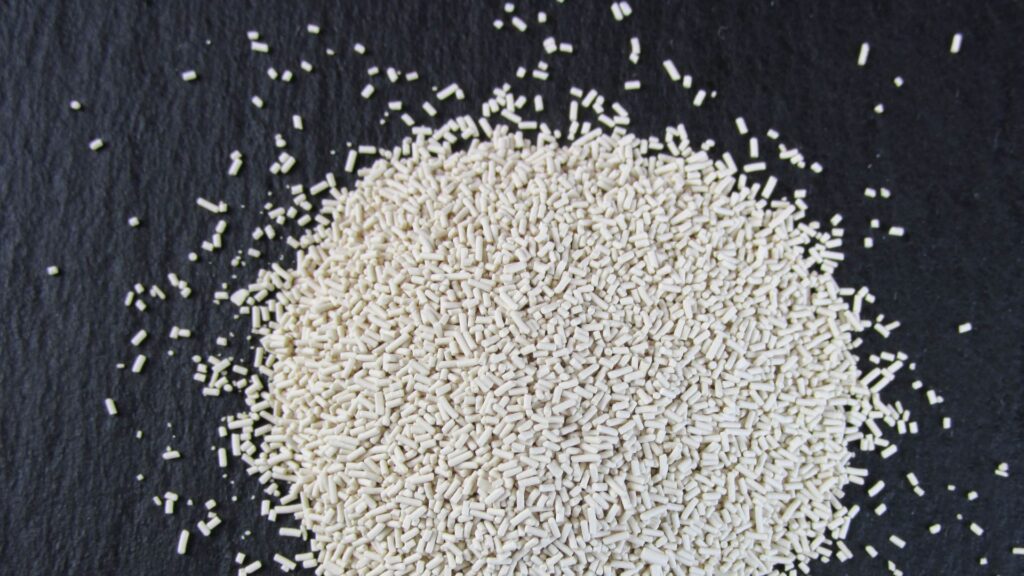
Active Dry Yeast:
Active dry yeast is the most commonly used form of yeast and is available in small granules. It needs to be activated before use, which is typically done by dissolving it in warm water (around 37°C to 43°C) with a little sugar to “wake it up.” Once activated, it can be mixed into your dough. This type of yeast has a long shelf life, making it a popular choice for home bakers.
Instant Yeast:
Instant yeast, also known as fast-rising yeast, is similar to active dry yeast but is processed in a way that allows it to be mixed directly into the dry ingredients without needing to be proofed first. It’s quicker acting than active dry yeast, and you can often shorten the rise time in recipes that call for it. Instant yeast is a great choice if you’re in a rush or want to simplify the process.
Fresh Yeast:
Fresh yeast, also known as cake yeast, is a moist and perishable form of yeast that comes in a solid block. It has a strong, fresh smell and provides a slightly different flavour profile compared to dry yeast. Fresh yeast is often used by professional bakers, but it can be harder to find in supermarkets. If you do use fresh yeast, be sure to crumble it and dissolve it in water before mixing it into your dough.
Each type of yeast has its strengths, so you may want to experiment to see which works best for your baking style. Generally, active dry yeast and instant yeast are easier to find and more widely used for home baking, but fresh yeast can give your bread an extra level of flavour.
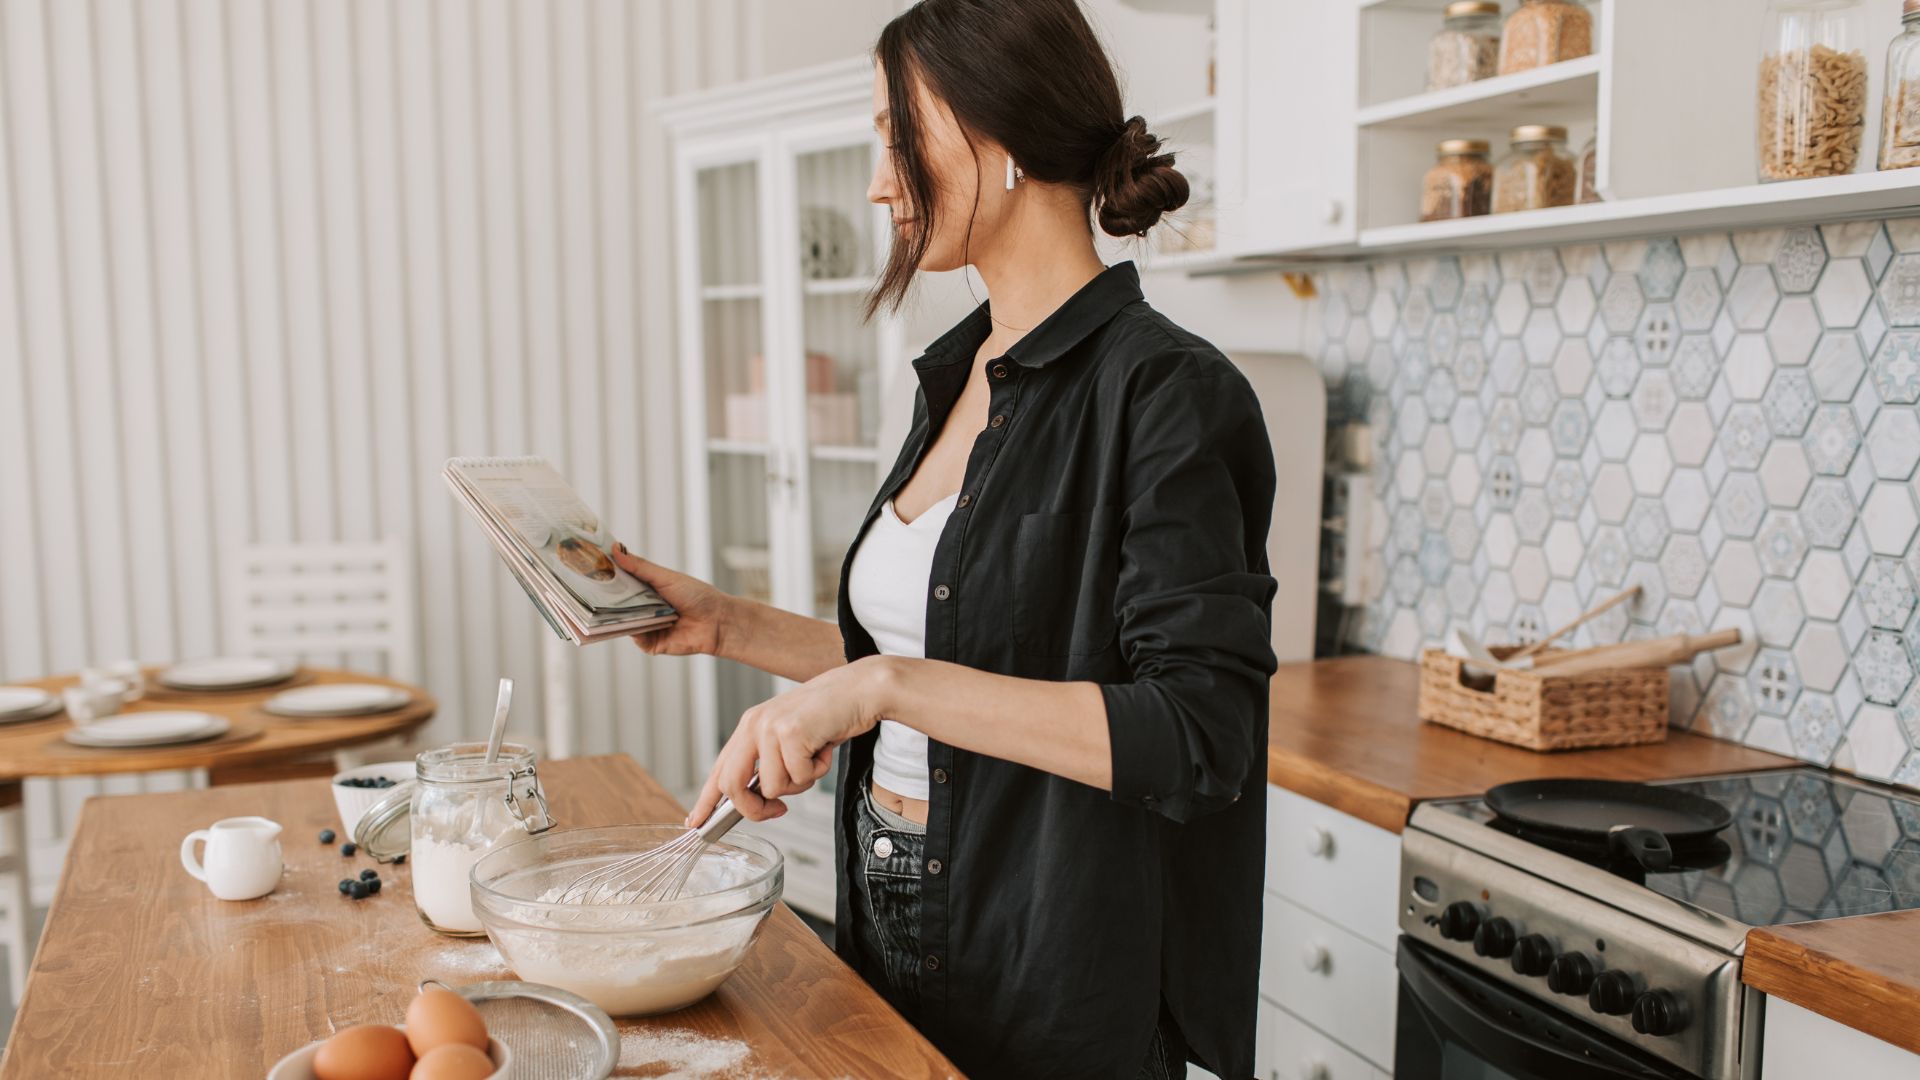
Proofing and kneading
Proofing is the process of activating the yeast before it is mixed into the dough. When using active dry yeast, this step is essential to ensure the yeast is alive and working. To proof yeast, dissolve it in warm water (around 37°C) with a pinch of sugar. Let it sit for about 5-10 minutes. If the yeast is active, it will bubble and foam, indicating that it’s ready to go. If it doesn’t bubble, it might be expired, and you’ll need to try with fresh yeast.
Once your yeast is ready, it’s time to mix it with the dry ingredients to form the dough. Kneading is the next crucial step. Kneading helps to develop the gluten in the dough, which is essential for giving your bread structure and texture. When kneading, use the heels of your hands to push the dough away from you, then fold it back onto itself, turning it a quarter turn after each push. Continue kneading for about 8-10 minutes, or until the dough becomes smooth, elastic, and slightly tacky but not sticky. If the dough is too dry, add a little water; if it’s too wet, add a small amount of flour.
Proper kneading is important because it encourages the dough to rise properly and gives the final baked product its light and airy texture. Once kneaded, allow your dough to rise in a warm place until it has doubled in size, which can take about 1-2 hours depending on the type of yeast used and the ambient temperature.
Common yeast issues
While yeast is a reliable ingredient, there are a few common problems bakers face when working with it. Here are some troubleshooting tips:
Yeast not rising:
If your dough isn’t rising, it could be because the yeast is old or inactive. Always check the expiry date on your yeast packet, and make sure to proof your yeast properly. Another reason for a failed rise could be that your water was too hot or too cold, which can kill the yeast or prevent it from activating. Ensure the water temperature is around 37°C for optimal yeast activation.
Dough too sticky or too dry:
If your dough is too sticky, it may be because there’s too much moisture. You can adjust this by adding a little more flour. On the other hand, if the dough is too dry, add a small amount of water, one tablespoon at a time, until you achieve the right consistency.
Over-proofing:
If your dough rises for too long, the yeast can exhaust itself, leading to a collapsed or flat loaf. Keep an eye on your dough and check the rise time – typically, 1-2 hours should be enough.
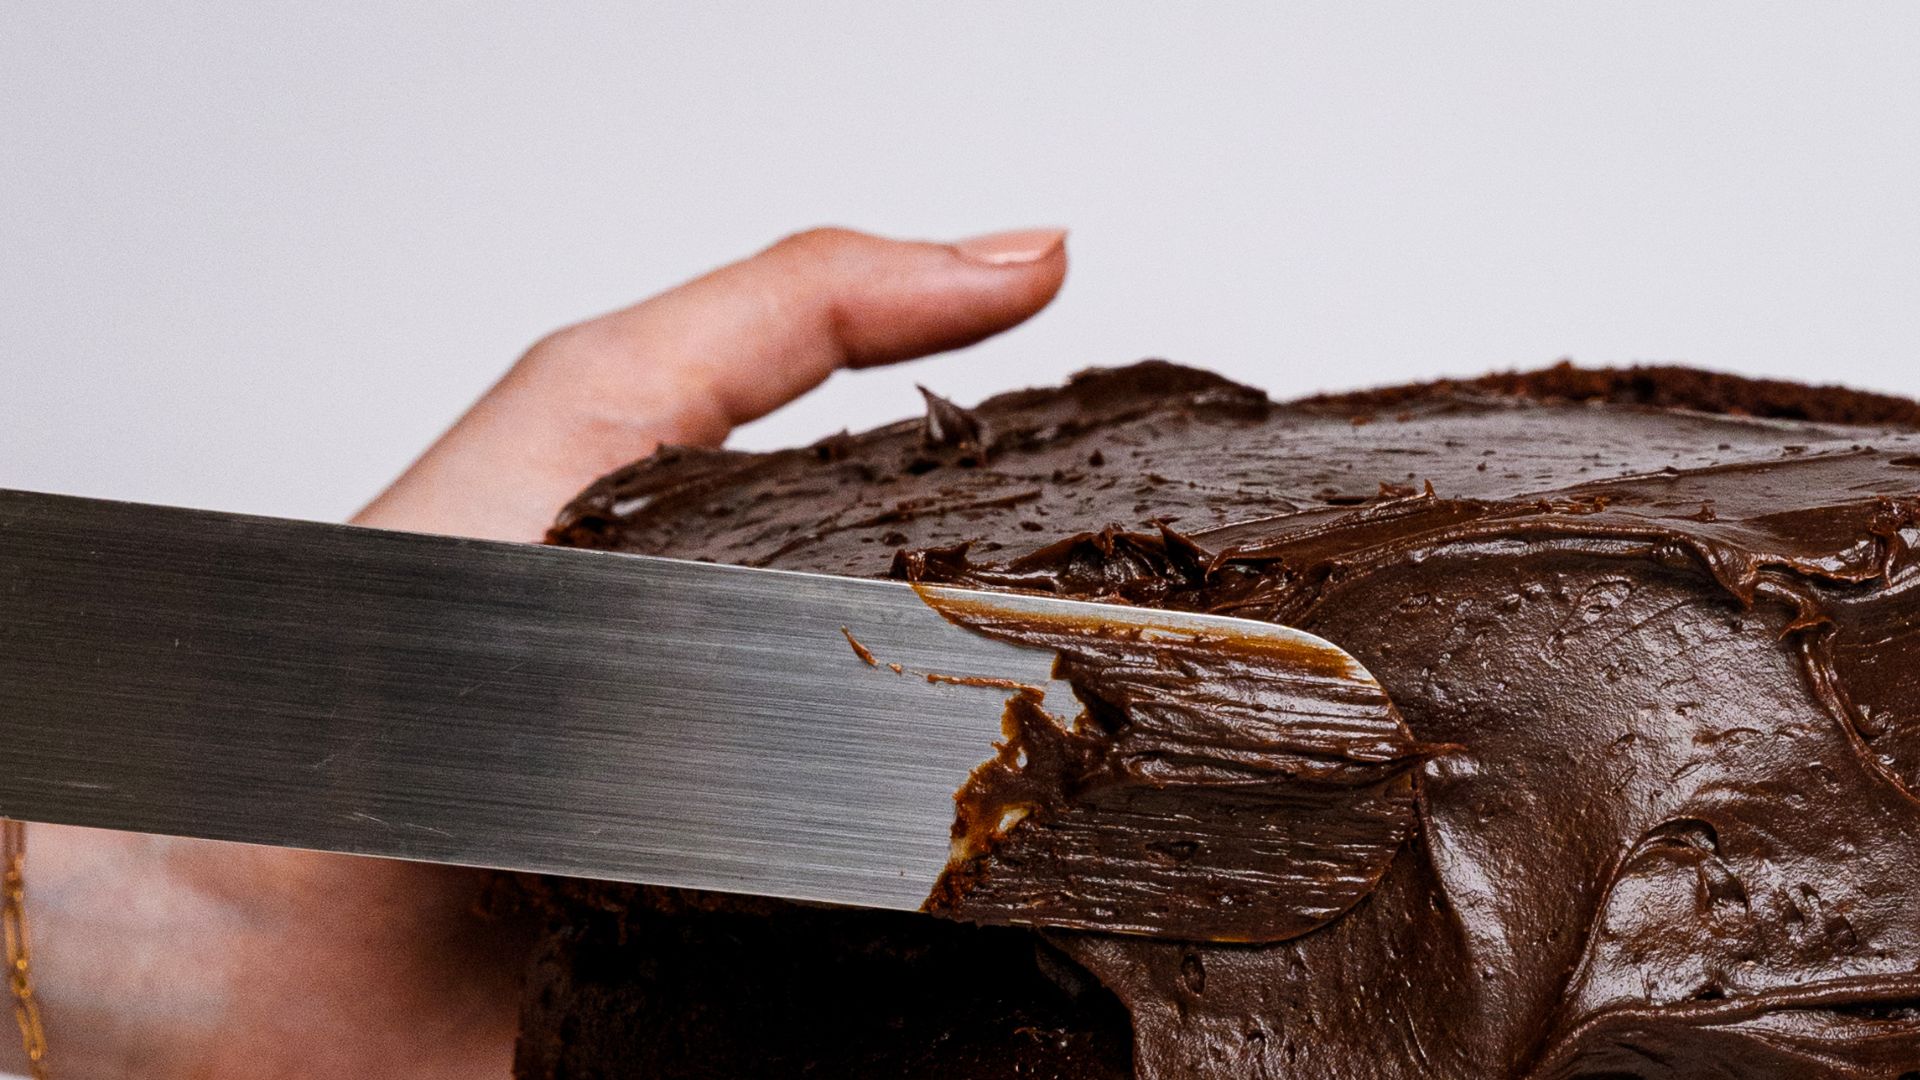
Recipes using yeast
Yeast is essential for making bread, but it’s also used in a variety of pastries and doughs. Here are a few recipes to try:
Basic Bread: Start with a simple loaf of bread, where yeast provides the rise and gives it that classic chewy texture. Experiment with adding herbs, garlic, or even cheese for added flavour.
Pizza Dough: Yeast is the secret to a perfect pizza crust. A soft, chewy base is achieved by allowing the dough to rise, creating a delicious foundation for your toppings.
Cinnamon Rolls: Yeast dough makes soft, fluffy cinnamon rolls that rise beautifully in the oven, resulting in a warm, aromatic treat perfect for breakfast or dessert.
💡Pro Tip: To ensure your yeast dough rises properly, make sure your ingredients are at the right temperature. Yeast thrives in warm environments, so use lukewarm water (about 37°C) for proofing, and make sure your kitchen isn’t too cold. If your dough is struggling to rise, place it in a warm spot, like an oven with just the light on, to create the perfect environment for fermentation.
Understanding yeast: Bread, pastries, the perfect rise
Working with yeast can seem intimidating at first, but once you understand the different types of yeast and how they work, you’ll find it’s a simple and rewarding part of baking. Whether you’re making a basic loaf of bread or experimenting with pastries, yeast is your key to achieving that perfect rise and delicious texture.
Let’s recap today’s article:
- Yeast ferments sugars in the dough, producing carbon dioxide which causes the dough to rise, creating the airy texture in bread and other baked goods.
- Active dry yeast needs proofing before use, instant yeast doesn’t, and fresh yeast provides a distinct flavour but is perishable. Choose based on availability and preference.
- Proof yeast by dissolving in warm water with sugar. Knead the dough for 8-10 minutes to develop gluten, which helps create a smooth and elastic dough.
- Troubleshoot by checking yeast freshness, ensuring water temperature is correct, and adjusting moisture levels if dough is too sticky or dry.
- Yeast is essential for bread, pizza dough, and pastries like cinnamon rolls. Experiment with different recipes to perfect your skills with yeast-based doughs.
With a little practice, you’ll be baking up mouth-watering, homemade creations in no time!